Solar 101
RV Solar Power: The Beginner's Guide
Optivolt
May 23, 2023
12 min read
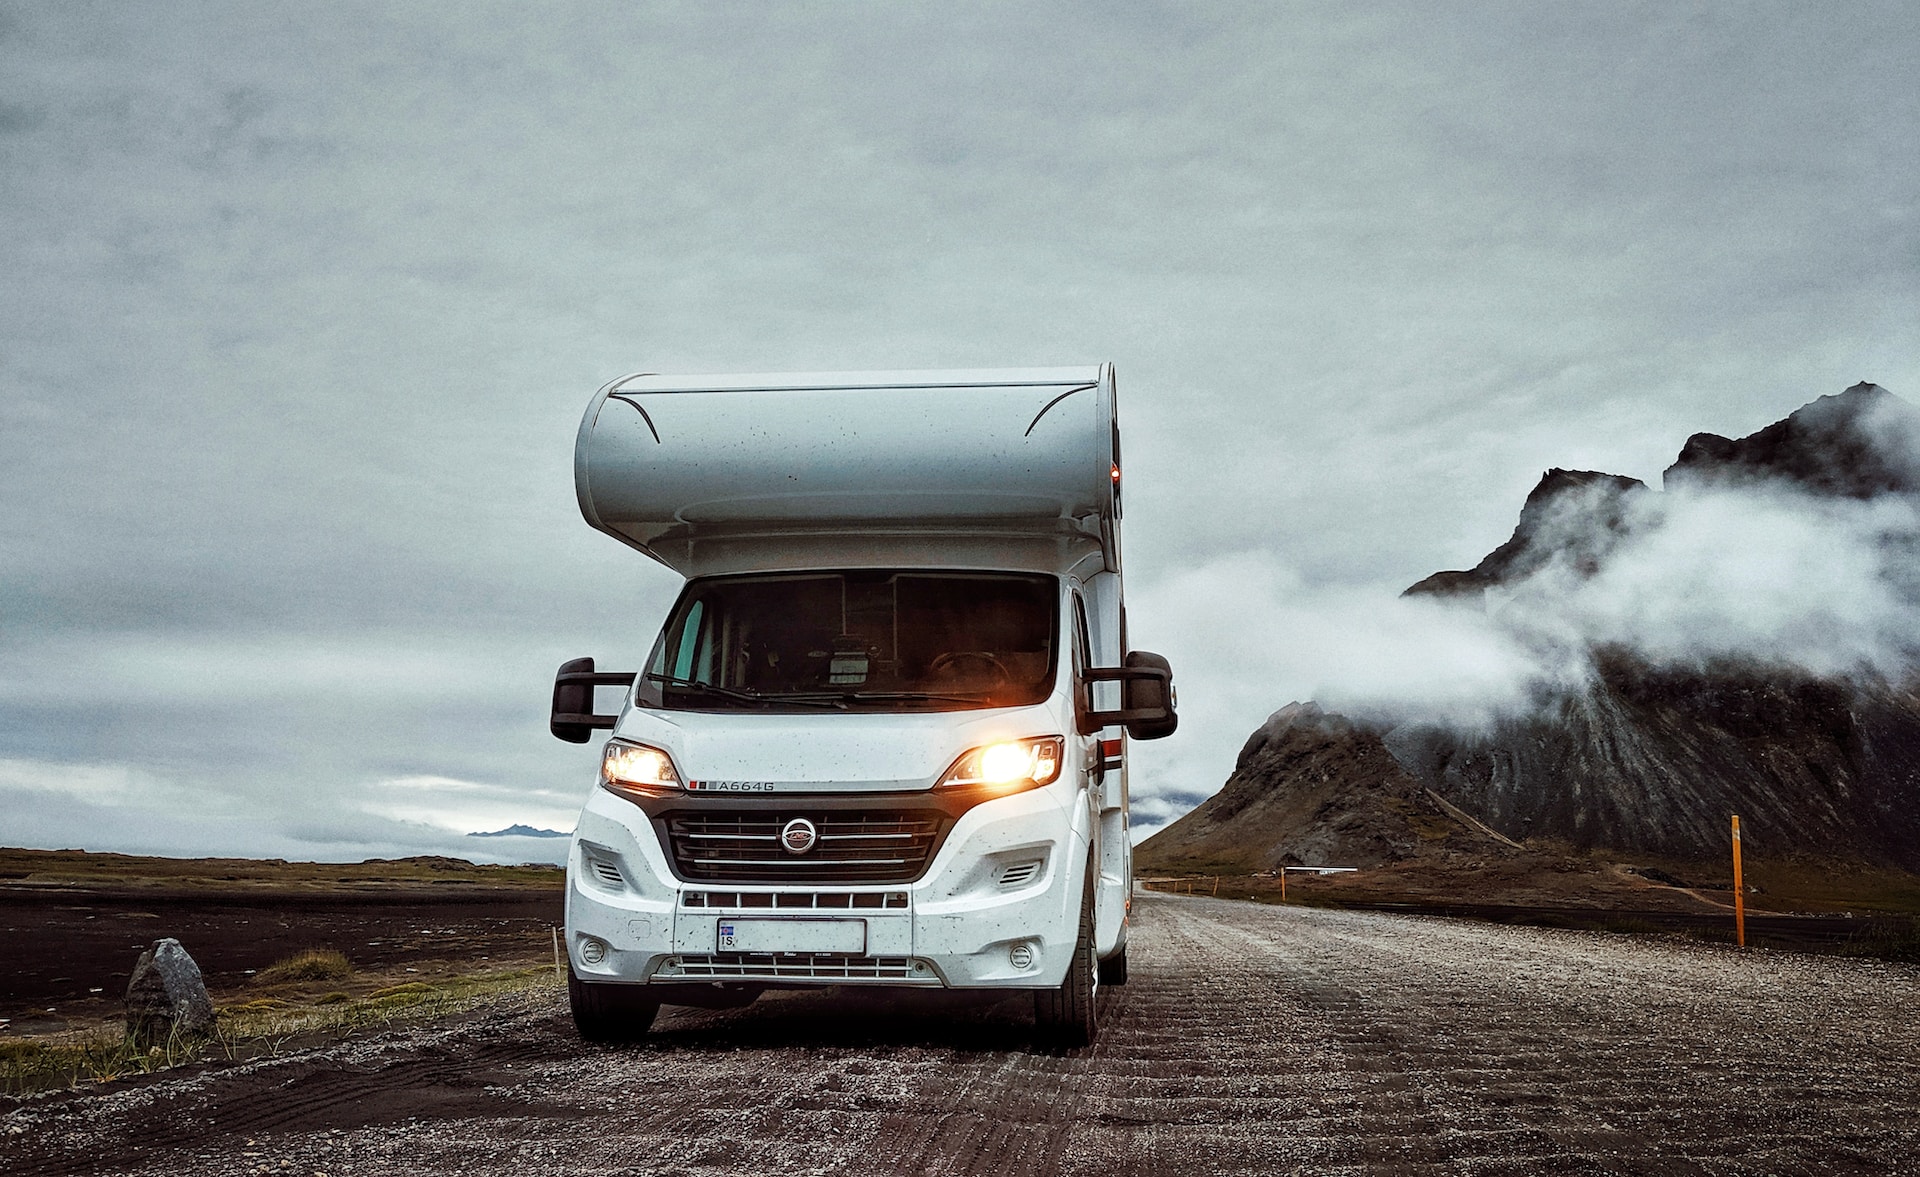
Are you ready to embrace solar power and free yourself from the constraints of loud generators and shore power? Not sure where to start? The world of solar power can be intimidating for first timers, but an RV solar system comes together easily for most people.
A solar-powered RV allows you to go out on bigger adventures and deeper into the wilderness. Without having to rely on campgrounds for shore power, you'll be able to go boondocking for weeks on end.
There are a few essential things to know before purchasing your RV solar panels. Preparation, planning, and learning are all essential parts of the process.
What Are RV Solar Panels?
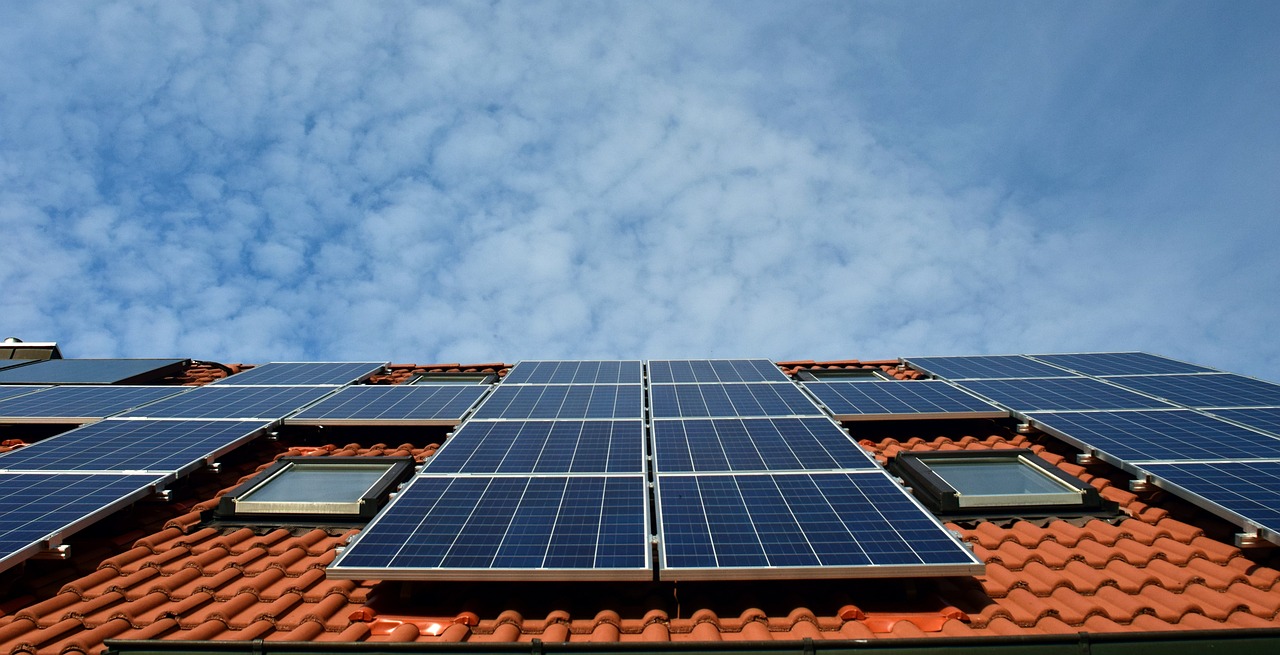
RV solar panels are photovoltaic (PV) modules that convert sunlight into electricity that can be used in a recreational vehicle. The same panels that are used on homes, camper vans, and other solar power systems can be used on an RV.
Most RV solar panels are rated between 100 and 400 watts. The higher the wattage rating, the more power that the panels will produce. Under optimal conditions, a 100W RV solar panel can be expected to produce around 400 Wh of energy per day (energy = power x time, so Wh = Watts x Hours) Correspondingly, a 400W panel may produce around 1600 Wh (1.6 kWh) per day. When winter comes, expect a lower output — peak sun hours can drop as much as 50% in December and January.
How Does an RV Solar System Work?
An RV solar system works by generating electricity from sunlight, and then delivering the energy to your appliances and devices. This is accomplished in a few steps.
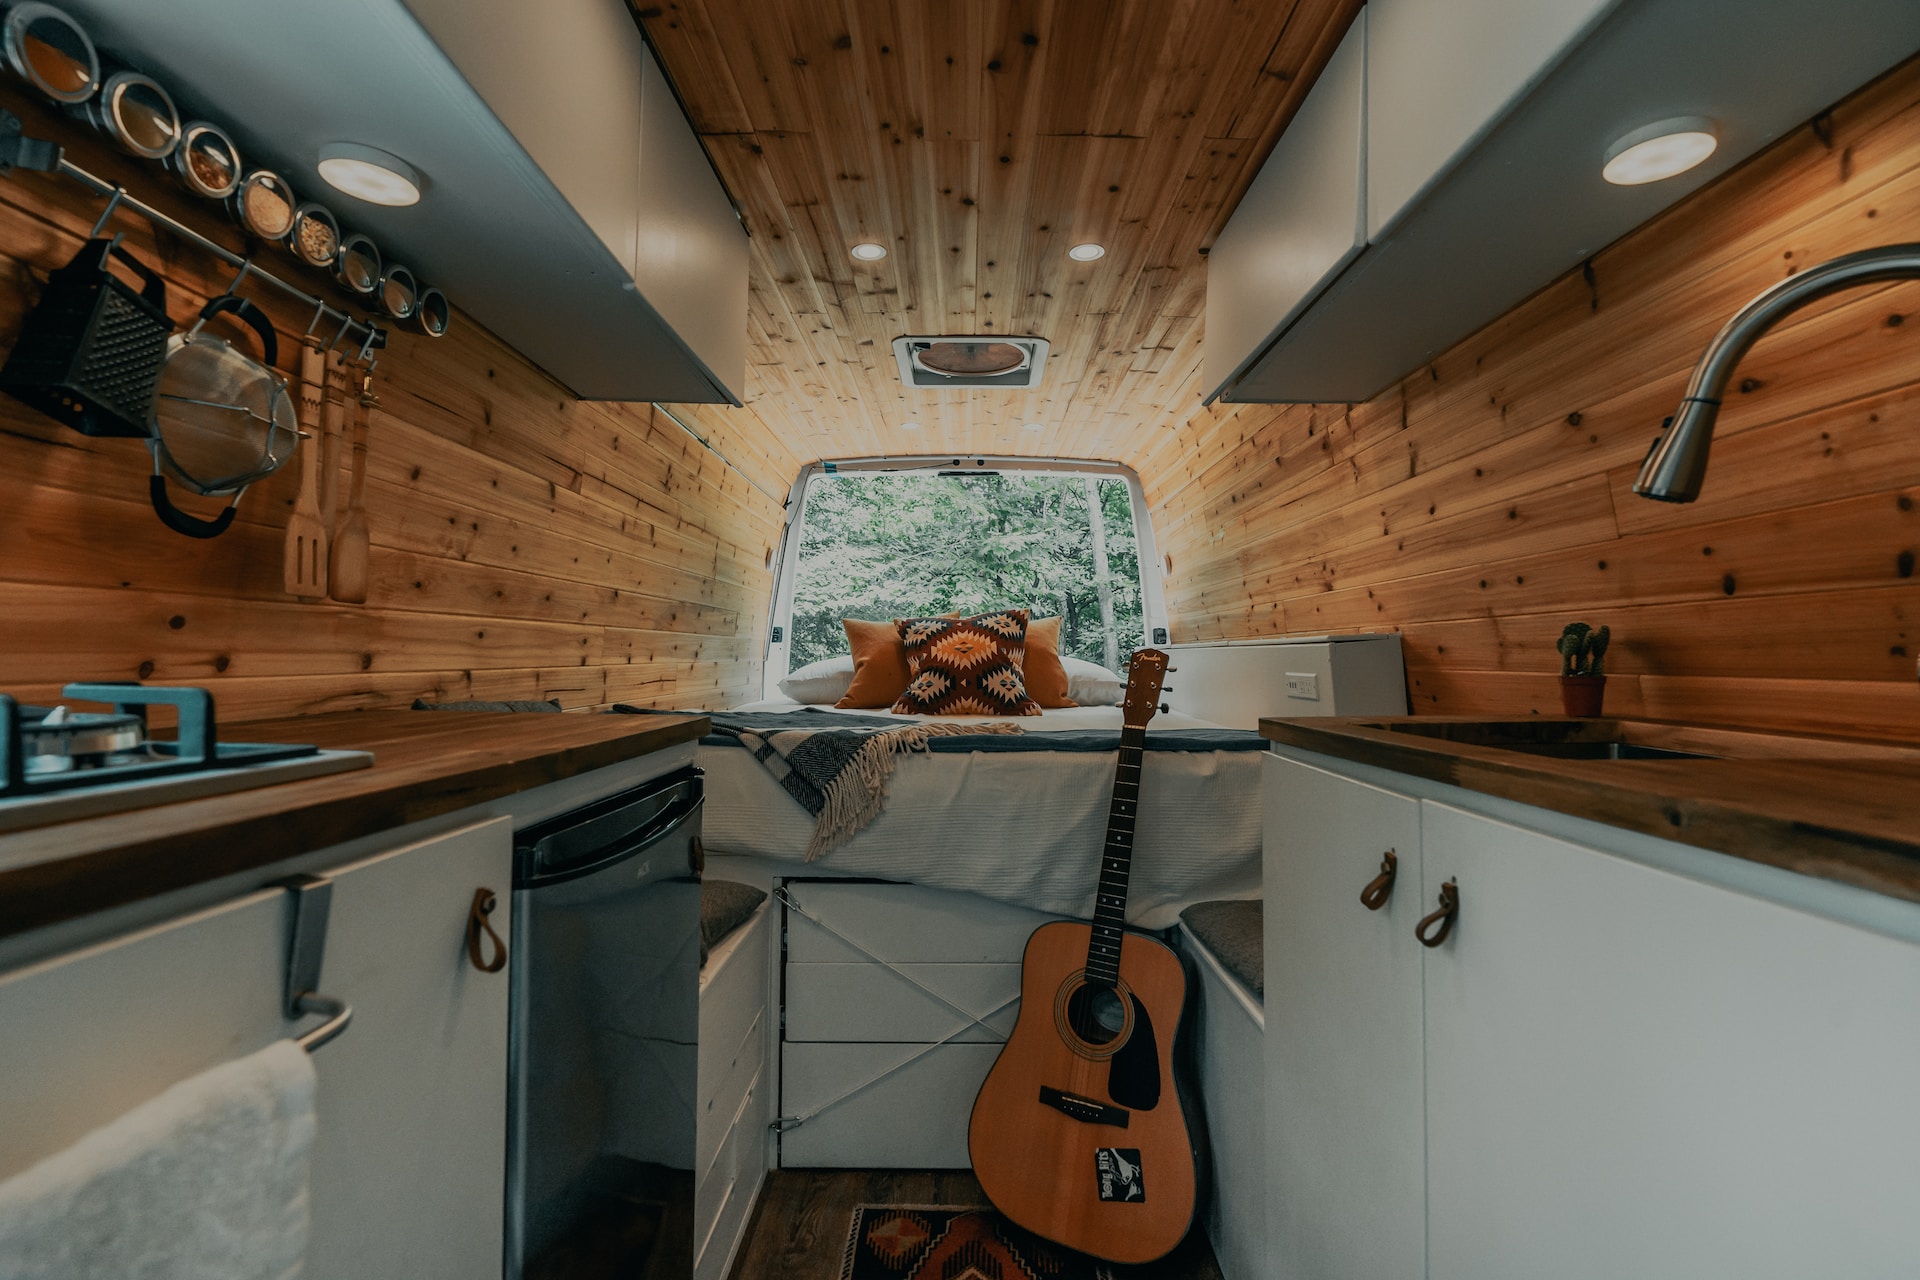
First, the RV solar panels receive energy from the sun, which is converted into direct current (DC) power. This power is sent to your RV batteries for storage. Then, the charge from the batteries is distributed through the RV, powering lights, heating units, and other appliances. An inverter is connected to the battery to provide convenient 110-120V AC wall outlets you can plug anything into, from an iPhone to a minifridge.
The Different Types of Solar Panels for RVs
There are a few different types of solar panels commonly used on RVs: monocrystalline, polycrystalline, shade-tolerant, and flexible.
Monocrystalline Solar Panels
Monocrystalline solar panels have cells which are constructed from a single crystal structure of silicon. They are characterized by their high efficiency, uniform dark cell coloring, and sleek appearance. They generally cost more than polycrystalline panels, but they provide more energy generation in return.
Monocrystalline panels are typically rigid solar panels, meaning they are built into a metal frame and are not flexible. Sometimes they are laminated with flexible materials such as PET and ETFE, without a metal frame to make semi-flexible panels for marine and RV use.
These types of panels are plagued by their inability to produce much (or any) energy in partially-shaded conditions. When one cell becomes blocked by foliage, snow, buildings, or other obstructions, then the rest of the panel's output drops as well. This is due to the way that the individual solar cells are wired together.
Polycrystalline Solar Panels
Polycrystalline solar panels use solar cells composed of multiple silicon crystals. They are lower in cost than monocrystalline panels, but they have a reduced efficiency. Polycrystalline panels are known for their uneven, patchwork blue coloring. Like their monocrystalline counterparts, polycrystalline panels are rigid solar panels and must be mounted on flat surfaces.
With the limited space of an RV roof, monocrystalline panels are usually preferred due to their increased power generation.
Shade-Tolerant Solar Panels
Optivolt’s shade-tolerant solar panels improve upon high-efficiency monocrystalline panels by embedding Pulse™ power electronics technology into each panel. In a traditional panel, a shadow creates a wall that blocks the flow of power through the entire panel, drastically dropping power output. Optivolt’s Pulse technology cleverly re-routes the power flow around the shadow(s) and back out, enabling up to 60X more power delivered under shade. Optivolt panels generate electricity at high efficiency even when one portion is blocked (unlike other monocrystalline and polycrystalline panels).
This type of solar panel can help ensure that RV batteries stay topped up even in adverse conditions. Power generation will be increased during cloudy days or shady forest afternoons — both common occurrences for RVers.
Flexible Solar Panels
True flexible solar panels — also known as thin-film or amorphous — are thin, bendable panels known for their ability to be mounted on curved and irregular surfaces. Semi flexible (often known as flexible too) solar panels are Monocrystalline panels laminated with flexible plastics and without a frame. RV owners can install flexible or semi flexible solar panels in otherwise unmountable locations, such as the curves found on a vehicle.
True flexible panels are usually constructed with cells made of Copper Indium Gallium Selenide (CIGS) or amorphous thin silicon. These cells perform at much lower efficiencies than rigid cells but are extremely lightweight. This means thin-film panels need much more area to make the same amount of power as panels built with rigid silicon cells. Semi-flexible “flex” panels made with rigid silicon but layered with flexible materials have similar efficiency to their rigid counterparts.
How Many Solar Panels Do I Need for My RV?
The number of solar panels) required for an RV solar system depends on a few factors, including:
- Estimated Energy Usage
- Sun Exposure
- Solar Panel Model
Let's explore these factors in further detail.
Calculate Your Energy Usage
Let's explore a quick example in which an RV is equipped with the following devices and appliances. To start, we need to gather the wattage rating for each appliance:
- 4 x LED Lights — 52 watts (13 watts each)
- 1 x Small Refrigerator — 60 watts
- 1 x Air Conditioning Unit — 500 watts
- 1 x Vent Fan — 36 watts
- 1 x Small TV — 90 watts
Next, we need to estimate our daily usage of each device. Take a look at the label, manual, or online manufacturer specification for each device, taking note of typical and maximum power draw. This will allow us to calculate the watt-hours (Wh) that we can expect each device to consume.
- LED Lights: 52 watts @ 2 hours = 104 Wh
- Small Refrigerator: 60 watts @ 24 hours = 1440 Wh
- Air Conditioning Unit: 500 watts @ 3 hours = 1500 Wh
- Vent Fan: 36 watts @ 5 hours = 180 Wh
- Small TV: 90 watts @ 2 hours = 180 Wh
- Total Daily Usage: 3,404 Wh
So, our daily energy usage for this example would be 3,404 Wh. Let's round up to 3,600 Wh as an added buffer for extra energy consumption (more lights on some nights, charging smartphones and laptops, etc.)
Keep in mind that real life conditions may alter the actual power draw of some of your appliances. For instance, some refrigerators may run at full power 24/7, while others may shut off and on at different times of the day. To be safe, install more solar power in your RV than you think you need, especially if you are not using shade tolerant solar panels.
Sun Exposure and Solar Panel Wattage
Most regions in the United States receive at least 2 sun hours per day in the dead of winter. If you're in an RV, traveling around the country, then it is best to use this low estimate for your calculations. Plus, when you visit perpetually-sunny areas like the Southwest, you won't have any trouble keeping your batteries topped up.
In the previous section, we calculated that we would need at least 3,600 Wh of energy production per day. In this case, our RV solar panels have 2 hours each day to produce the 3,600 Wh. We can use the following simple calculation to determine the number of watts needed from our solar array:
3,600 watt-hours ÷ 2 peak sun hours = 1800 watts
So, in order to produce 3,600 Wh of energy on a day with 2 peak sun hours, we need a solar array of at least 1800 watts.
Choosing an RV Solar Panel: Wattage, Size, and Quality
By now, you should have a good idea of your estimated energy usage and the sun hours you expect to receive. Choosing your RV solar panel is the last step in determining how many total panels your system will need.
RV solar panels come with a wattage rating between 100 and 400 watts. The 100W models are proportionally smaller and better suited for mounting in the nooks and crannies of your RV's roof. Camper vans and other smaller vehicles may not even be able fit a single 400W panel.
Assuming that the RV is using 100W solar panels, it would need 18 panels to produce 3,600 Wh over the course of a day that receives 2 peak sun hours.
Unlike most full-sized homes, an RV comes with limited roof space. Before purchasing your panels, make sure you have enough space to mount the entire array. Account for the space that other roof-top additions (AC units, vent fans, etc.) will take up. If you can't fit the full array, consider decreasing your daily energy usage.
Purchasing high-quality solar panels can help ensure that you always generate the electricity that you expect. Shade from trees and buildings can severely decrease the output of your solar array. To counteract this effect, utilize shade-tolerant solar panels — a newer technology that increases power generation in partial-shade conditions.
RV Solar Systems: Additional Equipment
The rest of the components are sometimes referred to as the balance of system (BOS). This term encompasses every component except for the solar panels, which includes battery banks, charge controllers, inverters, and other equipment.
Battery Bank
RV solar batteries store the energy produced by a solar array. This allows you to power your devices even after the sun goes down.
Let’s explore sizing a battery bank for an RV solar system. In the previous example, we estimated that an RV might consume 3,600 Wh per day. So, for one day of use, we need a battery bank that can supply 3,600 Wh of energy.

The depth of discharge (DOD) for a lithium RV battery should not often exceed 90%. This means that you should always have at least a 10% charge left on the battery to avoid shortening its lifespan. A lithium battery bank with a capacity of 4,000 Wh can be discharged 3,600 Wh and still hold a 10% charge of 400 Wh.
Batteries are often supplied with a watt-hour rating, making the math simple.
If your battery is rated in amp-hours, you will need to do one quick calculation to find the watt-hour capacity:
Watt Hours = Amp-Hours × Battery Voltage
Make sure that you check your battery and plug in the correct voltage for this calculation. Batteries for solar power systems are usually 12V, 24V, or 48V. In the following calculation, we will calculate the watt-hour capacity for a 12V lithium battery rated at 200 Ah:
Watt-Hours = 200 Amp-Hours × 12 volts = 2400 Wh
So, one 12V battery rated for 200 Ah has a capacity of 2400 Wh. We would need two of these batteries to supply one day’s worth of power.
However, what if you want to be energy autonomous for more than one day? A weekend? A week?
Energy Autonomy
Sometimes, bad weather will prevent your panels from producing energy. More battery capacity will allow you to draw upon stored energy for a longer period of time. Let’s say that we want to ensure energy autonomy for at least three days at a time — we can just triple the battery capacity (12,000 Wh, or 12 kWh) to provide this.
You can increase the watt-hour capacity of your battery bank by wiring multiple batteries in either series or parallel. Please follow OEM manual and specifications for advice on how to best wire your particular batteries into a larger pack.
Charge Controller
The solar charge controller is installed in between your solar panels and the batteries. This device regulates the power that flows from the solar panels into the batteries, manipulating the voltage and current to meet your battery's expectations. A charge controller provides critical safety features, such as protection against overcharging and excessive discharging.
Inverter
An inverter is found in most RV solar systems. This device converts the DC (direct current) power produced by the solar panels into AC (alternating current) power that can be used by household appliances.
Solar panels produce DC power, which is then stored in your batteries. Many electrical loads can run on 12V DC power, such as RV refrigerators, AC units, fans, lights, and other devices. However, devices that are commonly used in homes usually require an AC power outlet, such as TVs and laptops. If you plan on using AC-powered devices, you need an inverter.
Battery Power Stations
Battery power stations are a convenient solution that combine the charge controller, battery storage, and inverter into a single integrated unit. However, this convenience typically comes at a premium compared to sourcing the individual components separately and doing the wiring. If you’re looking for the simplest and fastest way to power your RV and are not cost-sensitive, battery power stations are a great option.
Shore Power Capabilities
Do you plan on camping at RV parks or campgrounds? If so, you may want to add shore power capabilities to your RV solar system.
To do this, you can install an inverter charger into your system. This serves the same purpose as a traditional inverter (converting power from DC to AC in order to use 120V appliances) while also allowing your batteries to be charged from an external AC source. Once installed, you will be able to charge your batteries using the shore power found at most RV campgrounds.

Adding Solar to RVs
In this section, we will provide a general overview of RV solar installations. This is not intended to be an all-encompassing guide, so further research should be performed to explore the nuances of adding solar to RVs. Each component will likely come with its own instructions for proper installation.
The main steps of installing your RV solar panels are as follows:
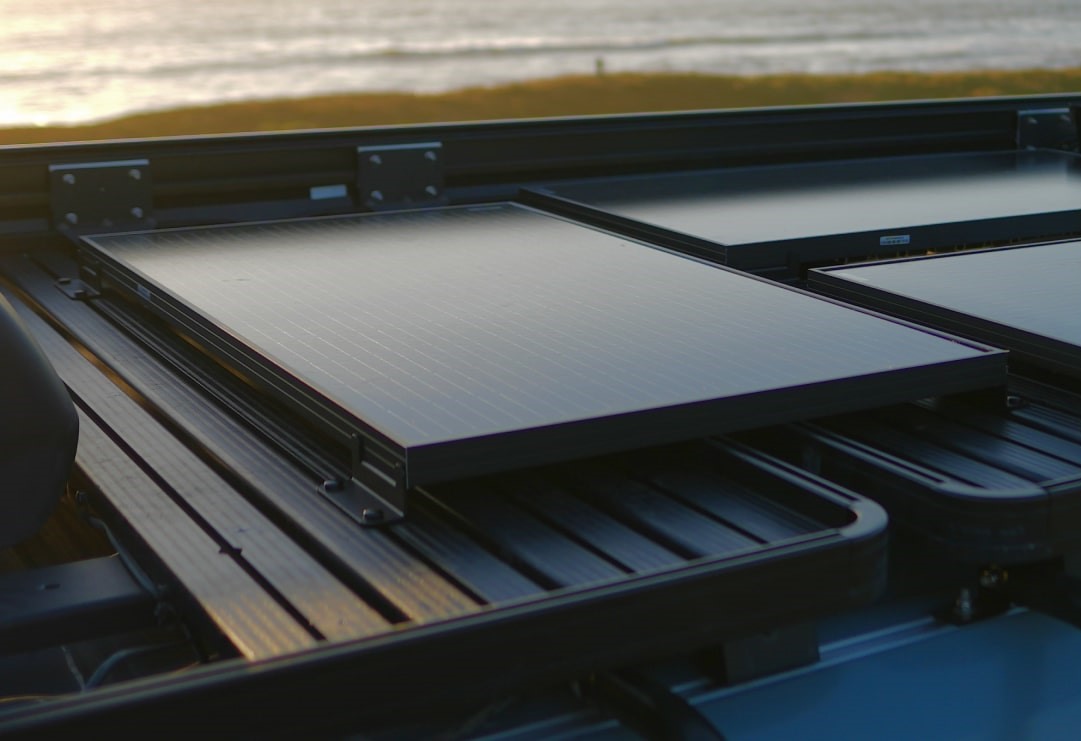
1. Mount the Panels
Start by planning out the measurements and mounting points for your solar panels. Do your panels come with mounting brackets, or will you need to fashion your own? Make sure the panels won't be shaded by any other RV roof fixtures.
Some mounting brackets will require you to drill into the roof of your RV, while others can be attached with a strong adhesive. Consult the instruction manual for your panels to determine the intricacies of installation.
It can't be overstated enough: plan ahead in detail to avoid any issues during or after installation. Once you have a solid plan for attaching your panels, proceed with caution, utilizing all possible safety measures while working on the roof. To prevent the panels from generating a voltage while you are working on them, completely cover the panels with a piece of cardboard (the box your panels were shipped in should work well) or another opaque object.
Apply sealant to the mounting points to weatherproof any holes.
2. Run Wires
Next, you'll need to run wires from the panels to your charge controller and battery bank. This can be accomplished in a few ways; sending the wires through pre-existing holes is the best option. This could be a refrigerator vent, holes previously used by plumbing or power cables, or other access points. Otherwise, check the RV manual for recommendations on how to create new access points.
Just like in the last step, you should prepare a detailed plan before proceeding with wiring. This will include a wiring diagram, so you know the lengths, gauges, and connectors that you need to have on hand.
3. Connect Components to Charge Controller
Most solar charge controllers will require you to connect your battery bank to the charge controller first, although others may specify that the solar panels should come first.
The battery bank and charge controller should be installed in close proximity to prevent the battery wire from becoming too expensive (a longer wire will need to be a heavier gauge).
Make sure to connect the positive and negative terminals of the battery bank and solar panels to the correct ports of the charge controller. If the connections are performed correctly, the charge controller should power on.
4. Additional Components
If you have any additional components, such as an inverter, now is the time to install it. An inverter is required in order to provide power to 120V AC devices and appliances. Follow the specific component's instructions to perform a safe installation.
5. Start Harvesting Energy
Now it's time to park your RV in the sun and start harvesting some power! If everything is connected correctly, your charge controller should notify you that the panels are producing a voltage and that the battery is receiving a charge.

Is an RV Solar System Worth It?
An RV solar system is absolutely worth investing in if you take frequent trips or live full-time in your mobile home. If you only take your RV out once or twice per year, then a full-fledged RV solar system might not be worth it.
In order to maximize the energy production of your RV solar system, make sure to use high-efficiency solar panels. Optivolt is a leading producer of innovative solar panels. Their products are embedded with Pulse™ technology, allowing them to produce power at high efficiencies in adverse conditions.
Related Questions
How Many Solar Panels Do I Need to Run My RV AC?
The average RV air conditioner uses around 500 watts to cool down your mobile home. If you use the AC unit for 3 hours per day, that's 1,500 total watt-hours (Wh) of energy consumption. You would need at least four 100W solar panels to produce this energy under optimal conditions.
What are the Best Solar Panels for RVs?
If your RV might experience shading from trees, buildings, and other structures, then shade-tolerant solar panels are the best for your RV. They are engineered for extra efficiency in partially-shaded conditions. Other solar panels can be rendered ineffective by the shading from a tree or other obstruction, but shade-tolerant solar panels do not suffer this problem.